No products in the cart.
Education, Food and Beverage, Laboratory Instrument, Laboratory and Research, pH, Water quality testing
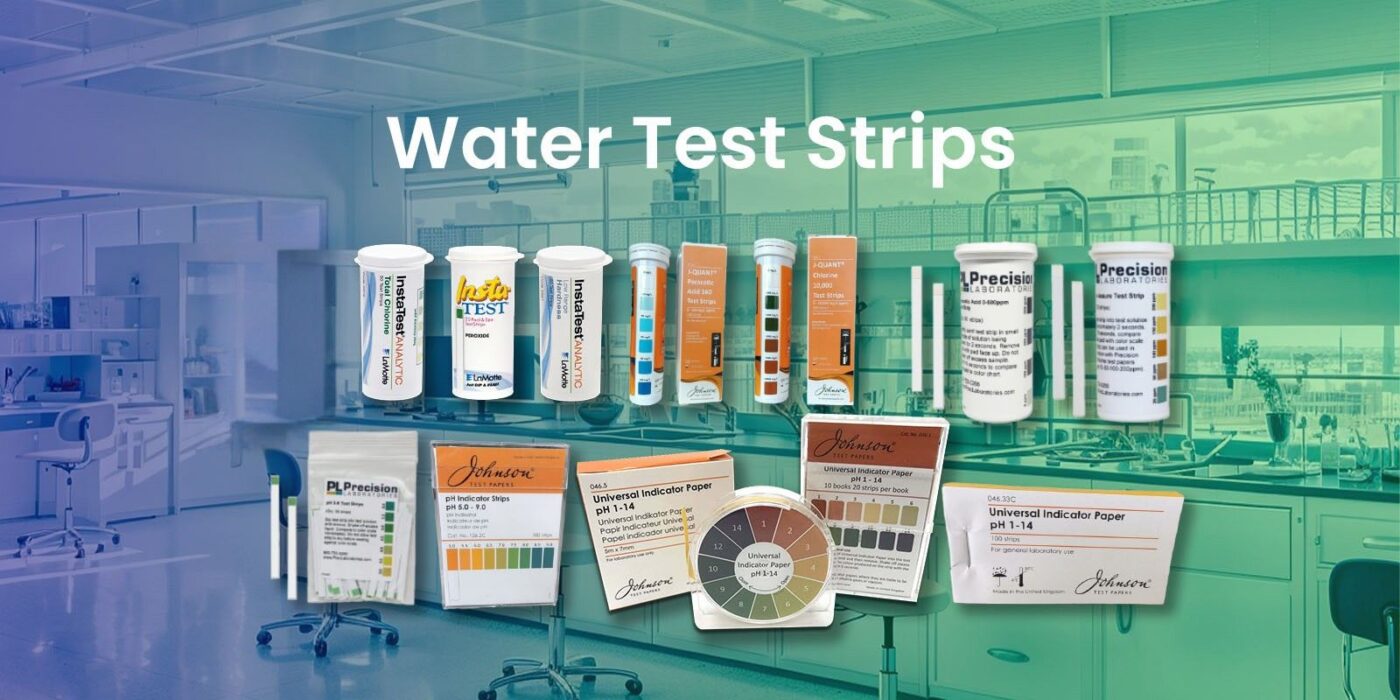
Testing Water Quality Using Water Testing Strips: A Simple Experiment
03
May
May
Water quality is a crucial factor in public health, agriculture, and industry. Testing water can reveal important data about its pH, hardness, chlorine levels, and potential contaminants like nitrates or lead. One of the simplest and most accessible ways to perform a water quality test is by using water testing strips.
In this blog, we’ll walk through an easy experiment using water testing strips to check the quality of different water samples. This experiment is perfect for educational purposes, hobbyists, and even professional laboratories looking for a quick method to gather basic data.
Materials Needed:
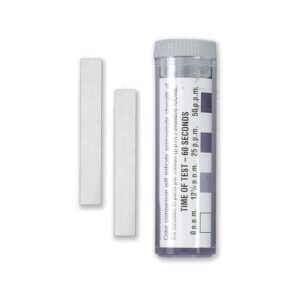
- Water Testing Strips – These strips come in different types depending on what you want to test (pH, chlorine, nitrates, etc.).
- Water Samples – Collect samples from different sources (e.g., tap water, bottled water, lake water, or rainwater).
- Sample Collection Containers – Use clean containers to hold your water samples.
- Gloves (optional) – For safe handling of water that may be contaminated.
- Notebook and Pen – To record your results.
Instructions:
Step 1: Gather Water Samples
Start by collecting your water samples from various sources. This could include:
- Tap water from your home
- Bottled drinking water
- A nearby stream, pond, or lake
- Rainwater collected during a downpour Label each container clearly to avoid confusion during testing.
Step 2: Prepare the Water Testing Strips
Choose the type of water testing strips depending on the parameters you want to measure. For example:
- pH strips for acidity or alkalinity.
- Nitrate strips to check for agricultural runoff or pollution.
- Chlorine strips to test the level of disinfectants in tap water.
Be sure to read the manufacturer’s instructions on how to use the specific strips you have. Usually, the strips are color-coded, and each color corresponds to a certain concentration of the substance you’re testing.
Step 3: Dip the Testing Strip
Take a clean testing strip from the package. Dip the strip into one of your water samples for the recommended amount of time (usually a few seconds). Ensure that the entire reactive area of the strip is submerged in the water. Remove the strip and allow it to sit for a moment (typically about 15–30 seconds) to fully react.
Step 4: Compare the Results
Once the testing strip has fully reacted, compare the color of the strip to the provided color chart on the packaging. The colors will correspond to different levels of the substance you’re testing (e.g., pH level of 6.5, chlorine concentration of 1 ppm). Record your results in a notebook.
Step 5: Repeat for Each Sample
Repeat this process for each water sample. Make sure to use a new strip for each test to avoid cross-contamination. After recording all your results, you can compare the water quality across different sources.
Analysis:
- pH Testing: The ideal pH for drinking water is typically between 6.5 and 8.5. Water with a pH outside this range could be corrosive or could affect taste and safety.
- Chlorine Testing: Most tap water contains chlorine to disinfect it. Safe drinking water should have chlorine levels less than 4 mg/L.
- Nitrate Testing: High nitrate levels, often found in agricultural runoff, can be dangerous, particularly for infants. Safe levels are generally below 10 mg/L.
Using water testing strips provides a quick, affordable way to monitor water quality in various environments. Whether you’re testing your home’s tap water, natural sources, or treated water, these strips can offer valuable insights in just minutes.
Understanding the data can help you take necessary actions, like treating your water or investigating the cause of contamination. As simple as these strips are, they play a vital role in promoting health and environmental safety.
We deliver our high-quality water test strips across United Arab Emirates, Bahrain, Kuwait, Oman, Qatar, Saudi Arabia, Central Africa, East Africa, West Africa, North Africa, Philippines, and beyond. Ensure compliance, safety, and efficiency with our top-rated products. Explore Now!
Get a quote whatsapp view productsRalated products
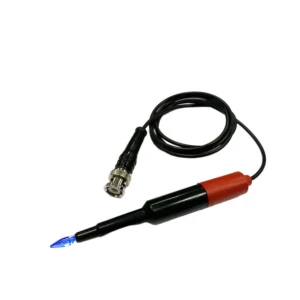

Instrumentation
AED 0.00
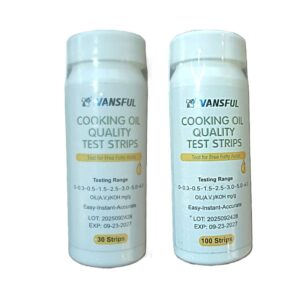

Water Analysis Instruments & Test Strips
AED 29.25
Plant Tissue Testing
AED 520.35
Plant Tissue Testing
AED 258.65
Aquarium and Fish Farming
AED 258.65
Water Analysis Instruments & Test Strips
AED 355.60

Water Analysis Instruments & Test Strips
AED 61.25
Water Analysis Instruments & Test Strips
AED 0.00

Industrial Water / Boiling & Cooling
AED 0.00

Instrumentation
AED 0.00

Food / Beverage / Laundry & Sanitation
AED 0.00

Water Analysis Instruments & Test Strips
AED 0.00

Instrumentation
AED 0.00
Water Analysis Instruments & Test Strips
AED 0.00
Aquarium and Fish Farming
AED 0.00
Water Analysis Instruments & Test Strips
AED 0.00
Instrumentation
AED 0.00
Instrumentation
AED 0.00
Water Analysis Instruments & Test Strips
AED 0.00

Water Analysis Instruments & Test Strips
AED 1,749.10

Water Analysis Instruments & Test Strips
AED 0.00

Food / Beverage / Laundry & Sanitation
AED 0.00
Aquarium and Fish Farming
AED 0.00
Instrumentation
AED 504.30

Industrial Water / Boiling & Cooling
AED 258.65
Industrial Water / Boiling & Cooling
AED 258.65
Water Analysis Instruments & Test Strips
AED 258.65
Water Analysis Instruments & Test Strips
AED 258.65

Water Analysis Instruments & Test Strips
AED 323.35

Water Analysis Instruments & Test Strips
AED 0.00